
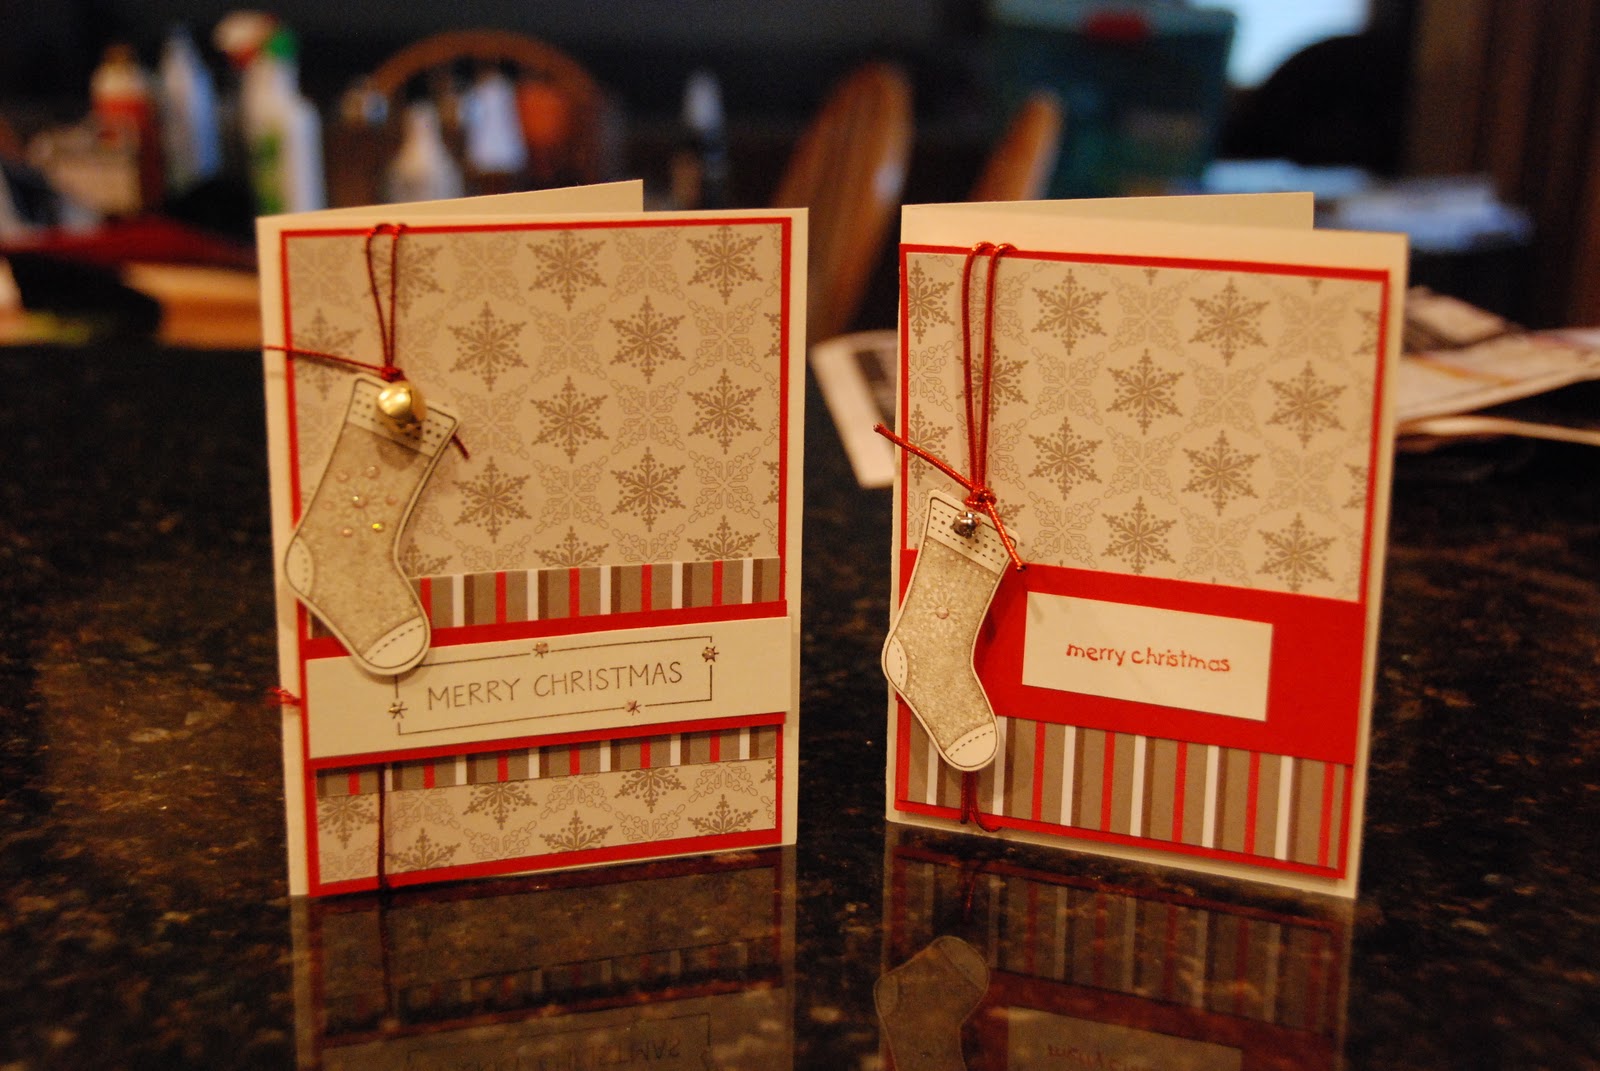
Tuesday, November 29, 2011
November Club project #2
Saturday, November 26, 2011
November Stamp Club

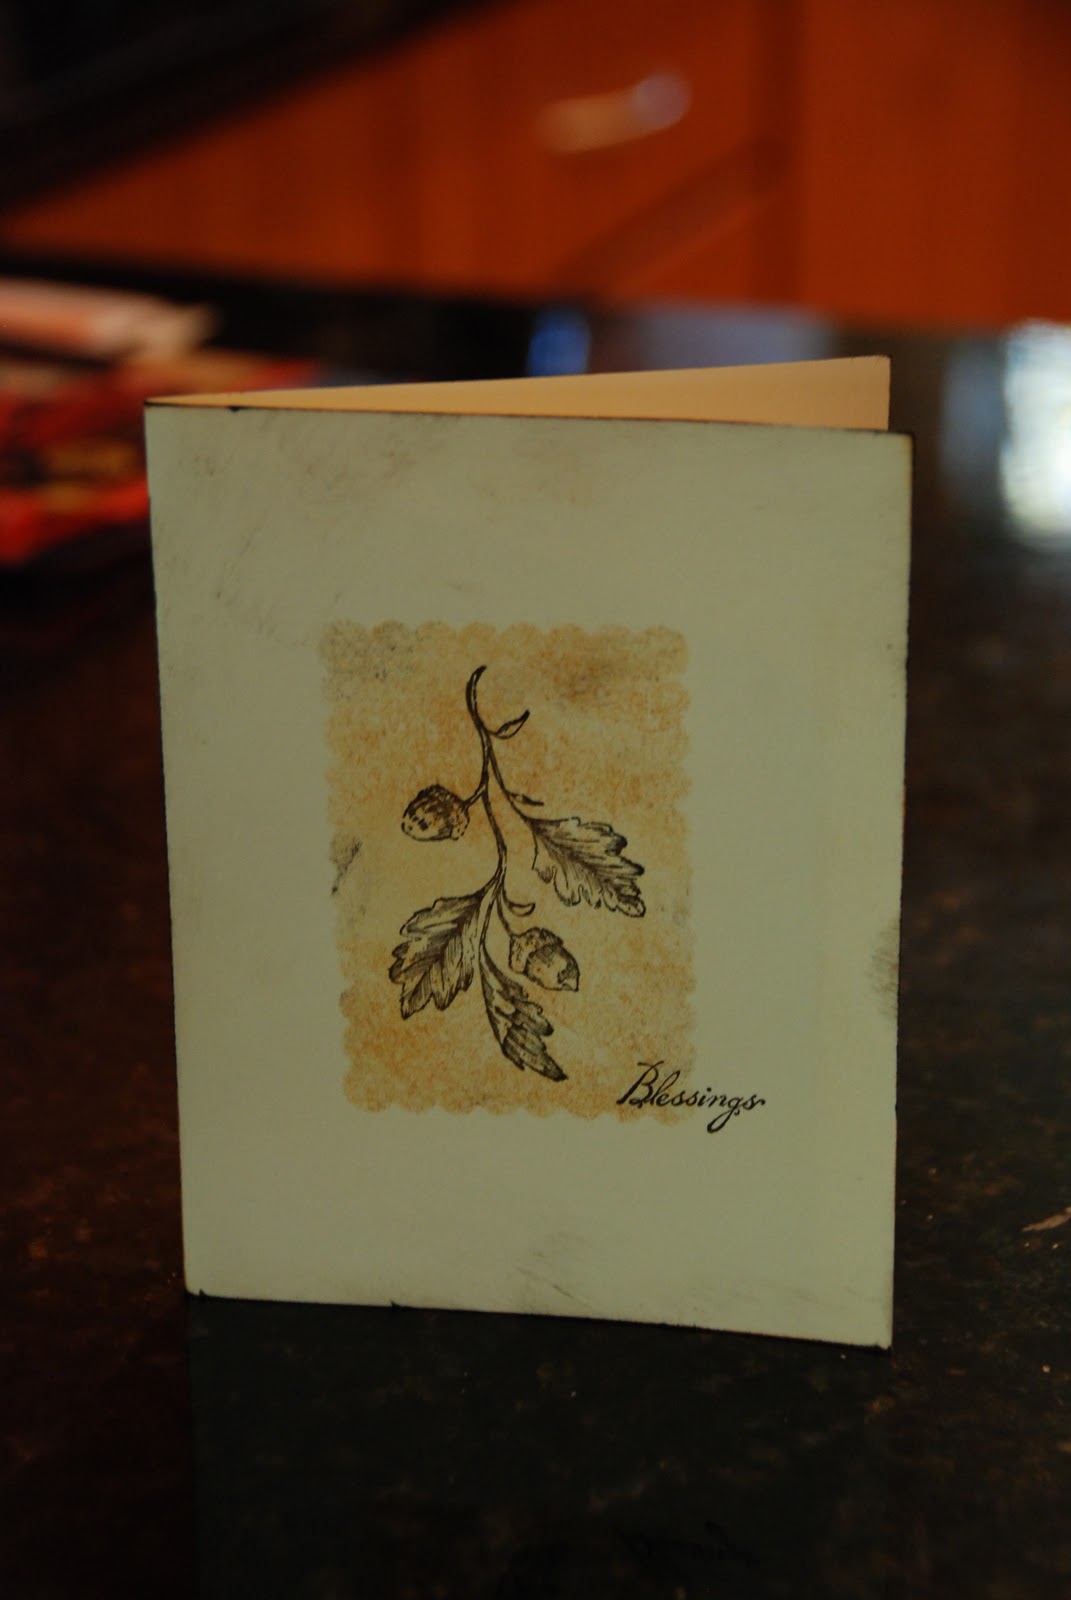
Monday, October 31, 2011
Thanksgiving Project

Wednesday, October 26, 2011
Stamping with Katie: October is breast cancer awareness month. In hono...
Stamping with Katie: October is breast cancer awareness month. In hono...: October is breast cancer awareness month. In honor, I made a small little project for someone I know who is going through treatment. I f...

Wednesday, October 19, 2011
Card #3: Loads of Love

October Cards: #2
Tuesday, October 18, 2011
October stamp club card

Monday, October 17, 2011
October Stamp Club projects


Wednesday, September 21, 2011
Handbag gift card holder

Tuesday, September 20, 2011
September club projects


Monday, September 19, 2011
Gift for the coffee drinker


Friday, September 16, 2011
BOO!

To make the can, I bought an empty pint can at Home Depot. I then wrapped it with gauze and inked it with brown ink to make it look aged. For the eyes, I punched out 2 different sizes and tucked them in the gauze.
The candy is attached to candy sticks (Wilton) with tape. I stuck the sticks in foam that is inside the can. Now to finish it off I will probably stamp some sentiment like " BOO to YOU" and attach it to another stick.
Fun idea for teacher, coworker, etc. BOO!
Saturday, September 10, 2011
Halloween

Following up on my last post...here is the first card I "doctored". I made this one VERY simple. Stamped "Boo To You" on the front of the card and then a greeting of Happy Halloween on the inside. On the back of the envelope I stamped a little Halloween themed image.
Our street like to "boo" one another during the month of October, so I thought this would be great to stick in those goody bags!
Have a great Saturday!
Tuesday, August 16, 2011
Blank cards
 Last night I was JoAnns getting the items my daughter needs to take a cake decorating class at the store this week. While waiting in line..this Studio G cards caught my eye! AHA! A pack of each were only a buck and there were other designs. My mind was racing.."how can I doctor these cute cards?" Got any ideas? I was even just thinking a simple verse on each would be great. I just thought the price was great: 8 cards plus envelopes for $1.00.
Saturday, August 13, 2011
August Stamp Club


It has been quite awhile since I have posted, which demonstrates how busy this summer has been! Lots of time away visiting family, vacations, camping or playing taxi cab driver! We are here now that it is August and I am back in mode! I thought I would post a few of the projects we'll be making for this month....
Friday, June 10, 2011
Father's Day
 This my favorite masculine stamp set that Stampin'Up sells..probably because I have lots of handy men in my family, including my husband. I used some scrapbook paper I had laying around for the background..it is woodgrain. The brads are screws which I think I bought at JoAnn's.
Saturday, May 14, 2011
May Stamp Club Cards

 This is a gift card holder..the top lifts up and the gift card goes in the bottom.
 A masculine card...duct tape and screw brads as an embellishment!
Thursday, March 3, 2011
Apron Card
 I found a template of an apron card on Anna Wright's blog (http://sweetmissdaisy.typepad.com/sassy_sweet_notes/2009/07/crafty-secrets-design-team-challenge-tutorial.html )and made this sweet little card. All I did was download the template and printed out the template out on designer paper. I cut it out and embellished it!
Monday, February 21, 2011
Purses
 On Saturday my husband took the kids out for some fun so I could get some rest. I ended up doing some crafting and made 2 of these cute, cute bags! I bought the tutorial from Inking Idaho blog (Becky Roberts) a months ago. These actually were not hard to make. I printed the bag on to designer paper, cut and put them together with the finishing touches. I added a 3-D flower on the bag on the left using the scallop punch. Now to figure out what to do with them...maybe make some cards to go in, or use these as gift card holders...
Saturday, February 19, 2011
Onesie Baby Box
 Continuing with the baby theme...I got the tutorial for this onesie baby box from CraftyPerson, which would be a great gift card holder or favor at baby shower. This being my first one, needs a little work, but these aren't too difficult to make. If you are interested in making one, let me know because I have the tutorial, which I can email you.
Supplies needed: Designer paper, ribbon, 3/4 inch punch, scallop punch, scissors, adhesive, paper cutter and scoring tool.
Sunday, January 30, 2011
Baby gift


Yesterday I had a baby shower for a friend ...so as usual, I decorated a paint can as part of my gift to the rest of the present. I put in a gift card for the baby and gift card for the mom (Starbucks!), plus I made some baby cards for her. The stamps I used are from Amuse..when I saw the "Got Milk" I immediately thought of her because she works as a lactation consultant for WIC program!
Tuesday, January 25, 2011
Sale-a-bration!
I am reposting this post from Inking Idaho....great idea!
It starts today! Stampin' Up!'s biggest promotion of the year!! Sale-a-bration is our yearly customer and hostess appreciation celebration.
It starts today! Stampin' Up!'s biggest promotion of the year!! Sale-a-bration is our yearly customer and hostess appreciation celebration.
With every $50 they spend in catalog merchandise, you get a FREE Sale-a-bration product from the Sale-a-bration catalog. Who doesn't ♥ FREE stuff??

We all use adhesive to assemble our cards and scrapbooks, right?
How would you like to get SNAIL refills for $1.80 each?
Here is how this works...
You order 34 SNAIL adhesive refills (order number 104331 $4.50 each) totalling $153.00.
That qualifies you for a Catalog Party making you eligible for Hostess Benefits. You'll earn $15 in Hostess Dollars to spend on anything in the Stampin' Up! catalog; so you choose 3 more SNAIL adhesives FREE! With a $153 party you also get a FREE 1st level exclusive Hostess Only stamp set from page 10 or 11 of the big catalog or page 6 of the Occasions Mini catalog.
Now, during Sale-A-Bration, a $153 party earns you 3 FREE Sale-a-bration stamp sets or products from the Sale-a-bration flyer!
You average the retail value of all the free merchandise you recieve (the Hostess Dollars, FREE Hostess set and the 3 FREE Sale-a-bration sets) and you are paying about $1.80 each for your SNAIL adhesives.
Monday, January 17, 2011
Valentines Day


Today I was at JoAnn's and they had these larger sized mailboxes (this was 4.99)..you can get the smaller ones at Target, in the dollar spot. So for Valentines Day, I decorated it..all ready to go to fill with some goodies!
Tuesday, January 4, 2011


Subscribe to:
Comments (Atom)