Thursday, August 26, 2010

Punch Art


Frog Bookmark Clip

I made this little guy out of circle, oval, and small flower punches. Now that I made him, I think the googlie eyes should be bigger, but all I had on hand were the small ones.

I bought the giant paper clips at WalMart. I glued the paperclip between to circles.

I am going to give this to my daughter who is an avid reader!

Tuesday, August 24, 2010

Punch Art


Pilgrim Man

I made these bags for my kids' teachers last year for Thanksgiving...a little "thank you" for all they do. We filled it with homemade pumpkin bread and pumpkin butter..REALLY yummy!

So, how did I make the Pilgrim? The man's head and hair is made from the Top Note die from SU! His eyes are made from various circle punches. I cut one in half to make the eyelids. His nose is made from the Round Tab Extra large punch. I use the 3/4 inch circle punch to cut out his nostrils. Everything else except the button on his hat is hand cut. I used the 1 3/8inch square punch with the slit punch to enable the ribbon to go through it.

That all there is too it...I also made a girl version too..if you are interested in her..email me!

Monday, August 23, 2010

Punch Art


Scallop Punch: Baby Carriage Tag

STEP 1: I punched 1 scallop out of pink paper and then cut it in half.

STEP 2: Cut a strip of white paper with scallop border punch. Cut it to fit the half of circles.

STEP 3: I then attached the scallop circles to one another to form a baby carriage

STEP 4: I made the wheels out of 3/4 inch circle punch and put brads in the middle to make the wheels of the carriage.

STEP 5: Attach wheels and punch out a small heart and attach to carriage.

STEP : Use the baby carriage for tag, card, etc. I am going to use this tag to attach to a gift bag for a girl baby gift.

Punch Art


Scallop Punch 3D Flower!

STEP 1: Punch out 4 scallops of your favorite designer/scrapbooking paper. Punch out 2 ovals for the leaves.

STEP 2: Take 2 of the circles and cut a slit to the middle in each of them. Take the 3rd circle and cut out 1 scallop like a piece of pie. For the 4th circle cut out 2 of the scallops like a piece of pie.

STEP 3: Glue the ends of the circle together..You will form a cup with each of the scallops.

STEP 4. Stack the circles on top of one another to build the flower gluing each layer. You will need to smash the point a bit to enable the circles to sit on top on each other. Attach the leaves. Use a button or jewel for the center of the flower and VOILA!

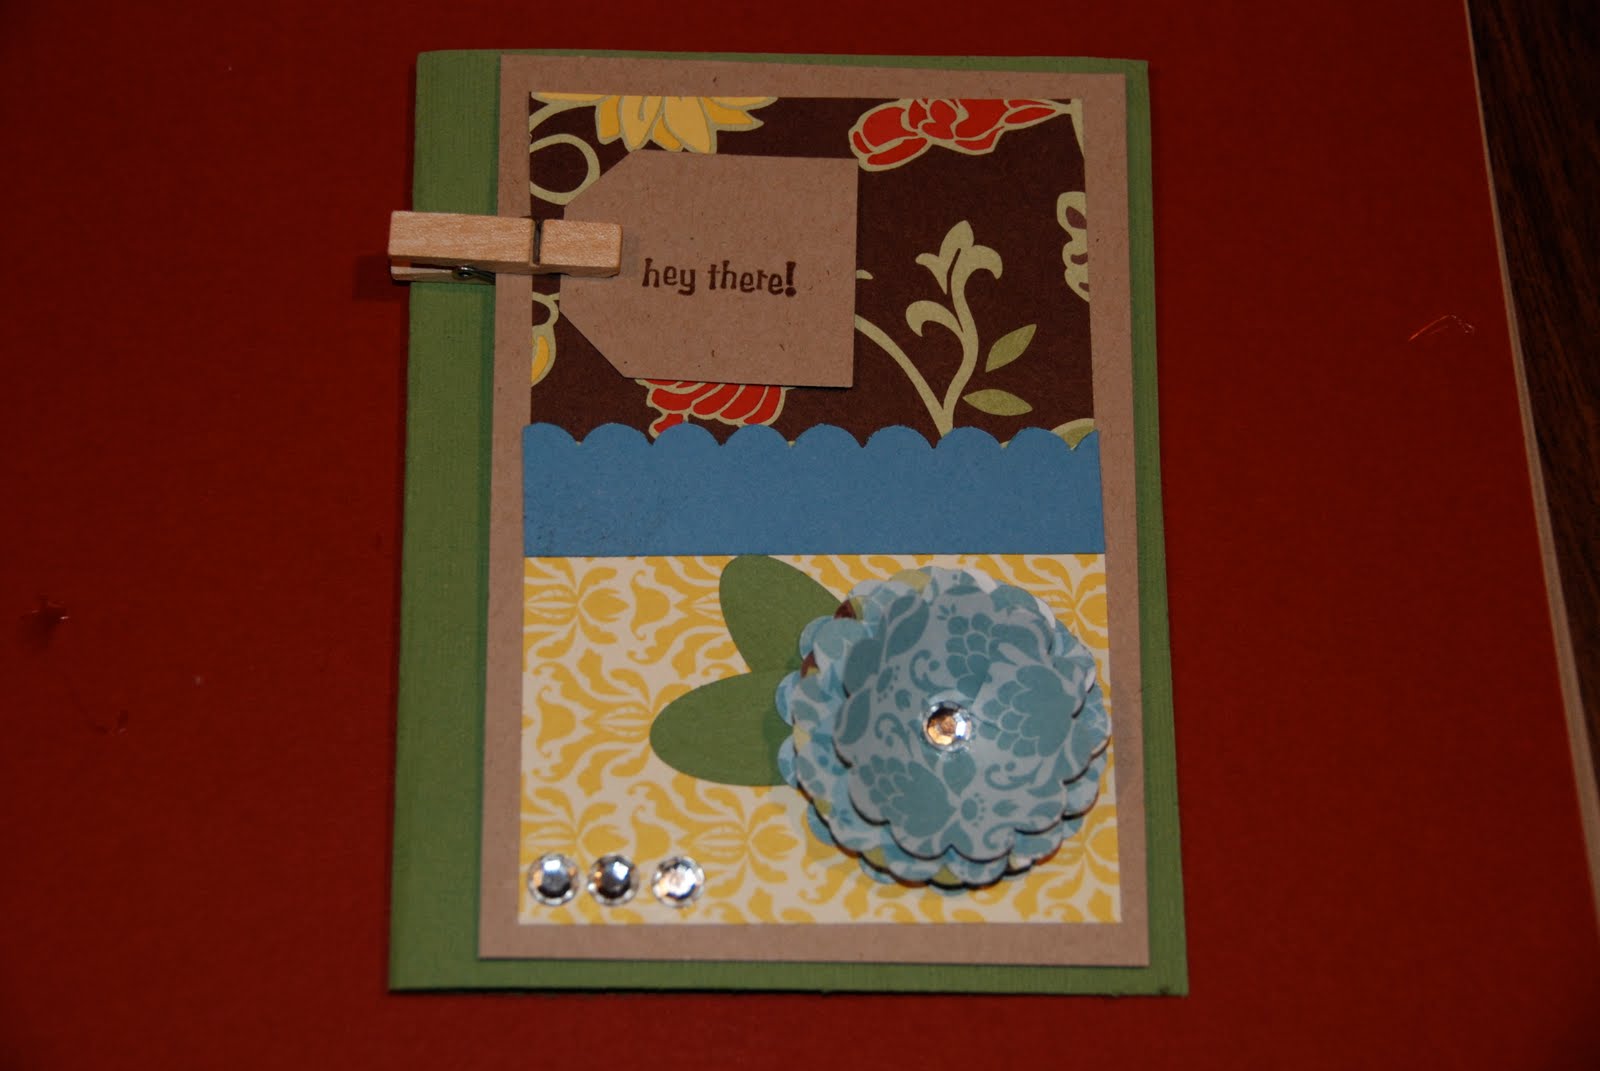
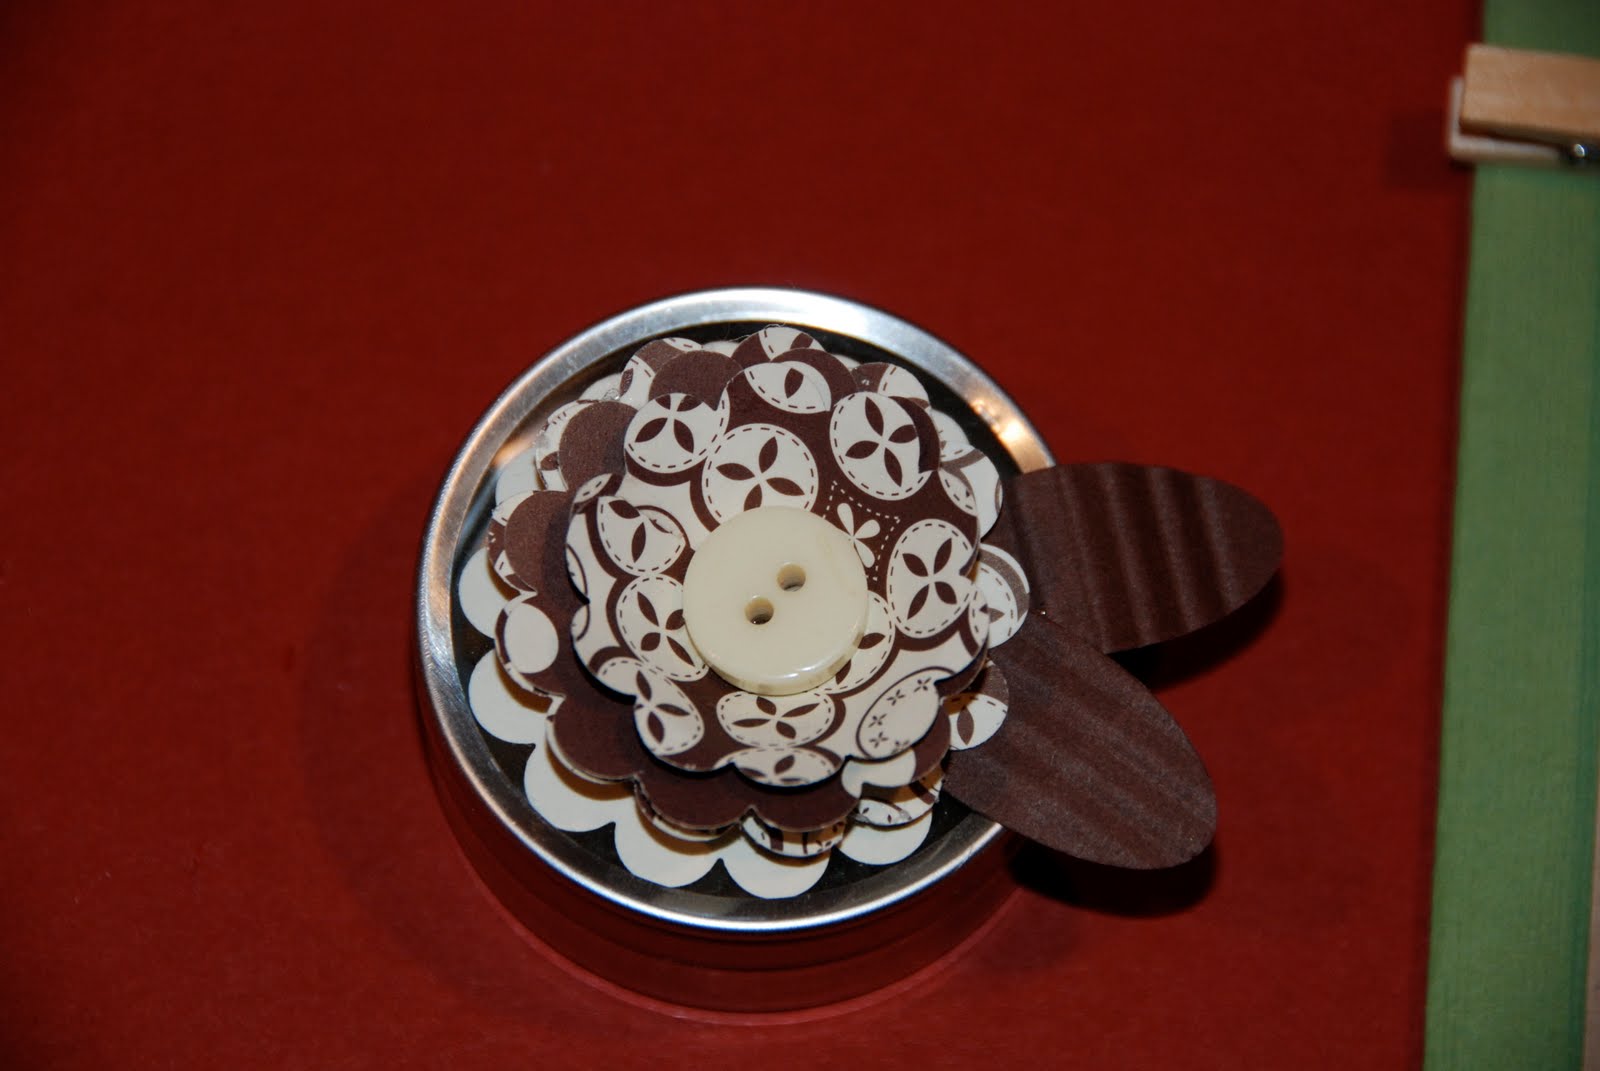
I have 2 examples of how I used the flowers (pictures on the top and bottom). Use these flowers for cards, etc. I also found this little favor can at the Dollar Store and embellished it with a flower.

Sunday, August 22, 2010

I love punches...ask my family, I have lots of them! They are so versatile...so to give you some ideas, I am going to spend the next 7 days posting ideas using punches. A great way to embellish cards, scrapbook pages, gift bags, etc! So check in each day for some cute ideas!! Your punches won't be collecting dust anymore.

Thursday, August 19, 2010

Crafting for a Cause

I stumbled across this on JoAnn Fabrics Blog today...Crafting for A Cause contest. What a great idea! Here is the link. Perhaps you can use your craft to raise some money for your favorite charity! Check out the link below. I am going to do some brainstorming.....

/joannfabricandcraftstores.blogspot.com/2010/08/twice-as-nice-to-craft-for-cause.html

Saturday, August 7, 2010

Desktop Calendar


My stamping club made this desk calendars. I printed the calendars from a website (www.printfree.com) off the internet. The base of the calendar is an 8 x 11 piece of cardstock folded in half. I then embellished each side (front and back) according to the months assigned to that side. When I was done, I punched 2 holes at the bottom and strung ribbon through it and tied a bow. That kept the calendar standing and from falling down. For more specific instructions, you can always email me!